Most of the web developers prefer localhost to design and develop wordpress website, the website then migrated to the live server once it gets over. Migrating a WordPress website to the live server is a bit difficult task especially for beginners, it requires some knowledge of phpMyAdmin as well as WordPress file system. But here is a WordPress plugin that let you easily migrate the WordPress website within minutes i.e. WordPress Duplicator.
Also read:
Quick Review of WordPress Duplicator Plugin
WordPress Duplicator is a powerful yet easy to use WordPress plugin to transfer WordPress website from localhost to live server, this plugin can be also used as a backup tool to completely clone your website in your hard disk.
Below we have come up with a short tutorial on how to migrate wordpress website with the WordPress Duplicator plugin.
Step by Step Guide to Migrate WordPress Website with WordPress Duplicator Plugin
We assume that you have already created a database for WordPress and assigned a user for the same. Just go through the steps below to move WordPress website to the live server with WordPress Duplicator plugin.
- Login to your WordPress admin area
- Navigate to “Plugins >> Add New” page
- Search for “WordPress Duplicator” and click on “Install now” button
- Activate the plugin once installed
- Now click on “Duplicator” menu from the sidebar and click on “Create New” tab
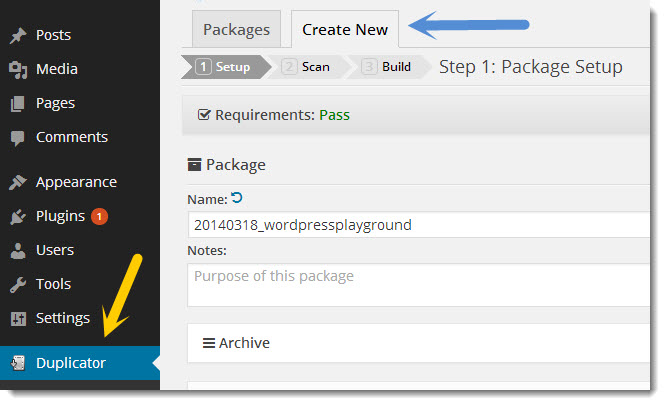
- Give a name to the package and click on “Next” button
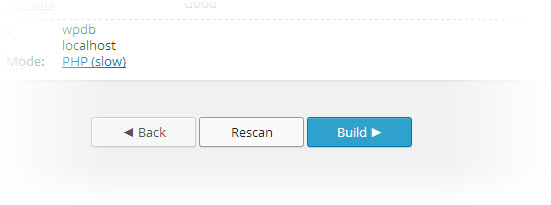
- Wait for the moment while WordPress Duplicator Plugin scans, now click on “Build” button
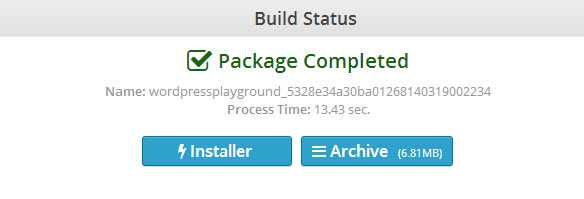
- It takes some time to build the package. Download “Installer” and “Archive” to your hard disk
- Upload both the ”Installer” and “Archive” to your live server and run “installer.php” (for example www.yoursite.com/installer.php)
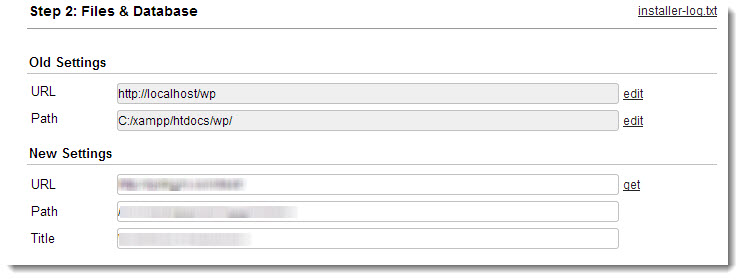
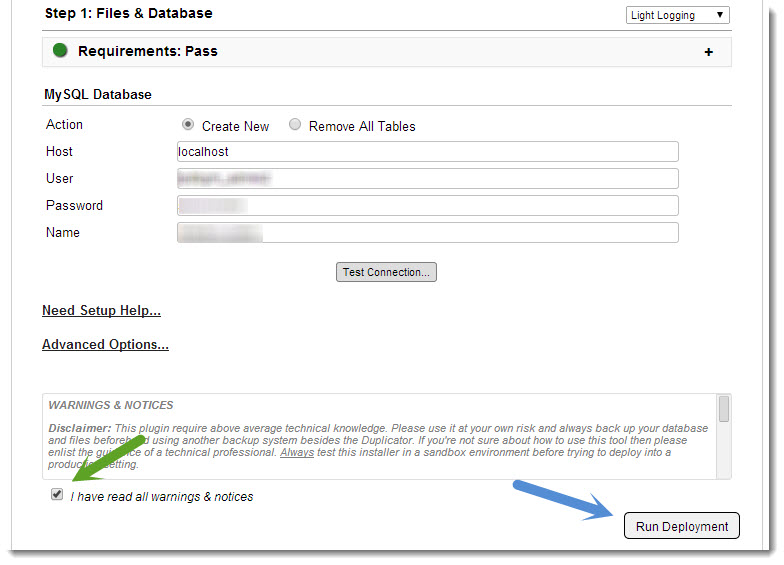
- Now on the installer page, specify the database name, user name, password and press put a right mark for “I have read all warnings & notices” check box and finally click on “Run Deployment” button.
- That’s it, within minutes the site will be migrated to the live server, on the next screen just verify the new path of your website and hit “Run Update” button.
